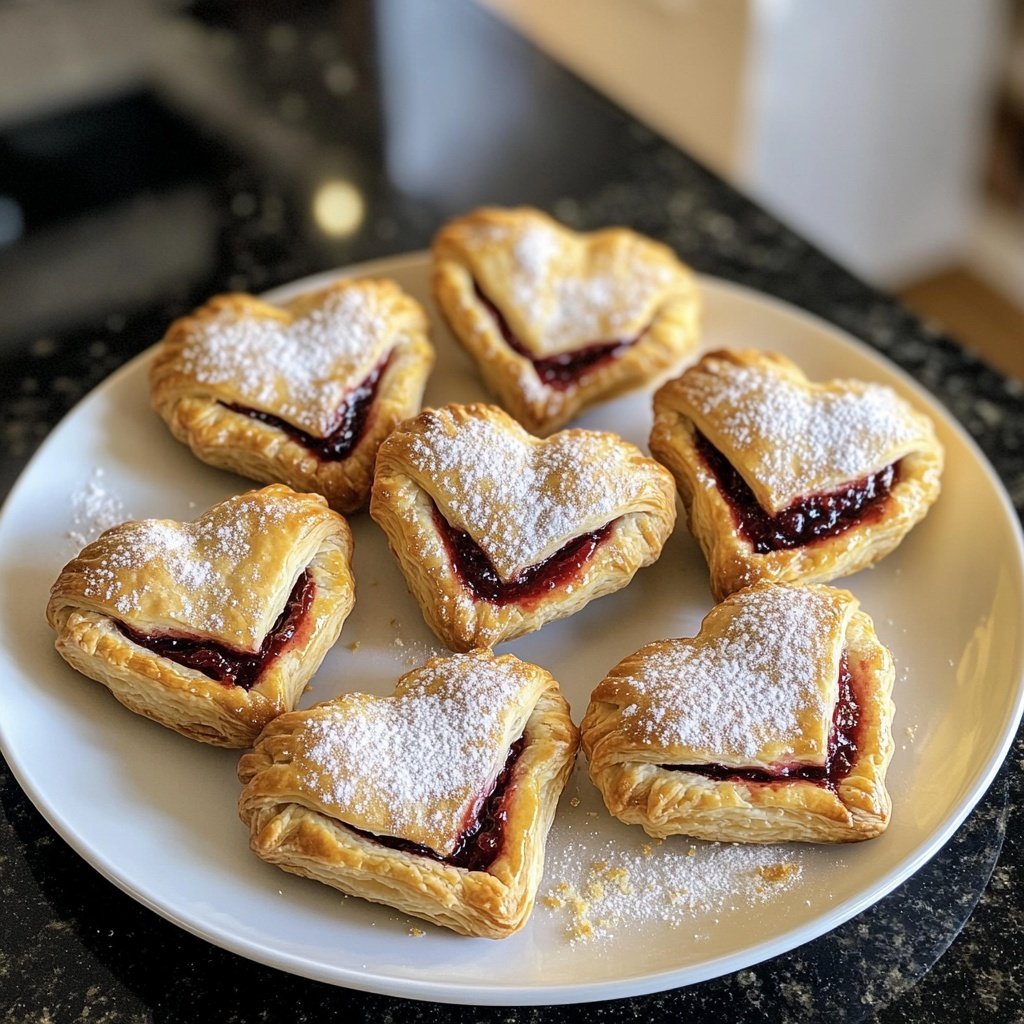
Valentines Snacks Mini Puff Pastries
Highlighted under: Dessert & Dough
I absolutely adore making these Valentine's Snacks Mini Puff Pastries! They're not only fun to prepare but also a delightful treat to surprise my loved ones on this special day. Each bite offers a flaky texture and a sweet filling that’s perfect for any celebration. I love how easy they are to customize; whether with chocolate, fruit, or cream cheese fillings, they always impress. Plus, they come together in no time, making them a great last-minute indulgence that radiates love and care.
When I first made these mini puff pastries, I was amazed at how effortlessly they came together. I used pre-made puff pastry sheets, which saved so much time and effort, allowing me to focus on getting creative with fillings. One thing that really elevates these pastries is brushing them with a bit of egg wash before baking; it gives them that beautiful golden color and a slight shine that makes them irresistible.
I also love experimenting with various fillings, such as fresh berries or chocolate hazelnut spread. I've learned that letting the filling cool slightly before adding it to the pastry helps prevent sogginess. It’s those little tips that ensure every bite is as delightful as the last!
Why You'll Love This Recipe
- Flaky, buttery pastry that melts in your mouth
- Endless filling possibilities to suit any palate
- Quick and easy to make, perfect for any occasion
Perfecting Your Pastry Technique
The key to achieving perfectly flaky puff pastries is to handle the dough as minimally as possible. When rolling out the pre-made puff pastry sheets, aim for an even thickness of about 1/8 inch. This consistency ensures that they bake uniformly, yielding that desirable flaky texture. If the dough becomes too soft as you work, refrigerate it for about 15 minutes before proceeding; this helps maintain the layers during baking.
When folding the pastry to seal it, press firmly along the edges but avoid squeezing out the filling. A fork can be used to crimp the edges for a decorative touch and further seal the pastries. Not only does this enhance their appearance, but it also helps prevent openings during baking, which could result in a mess and loss of precious filling.
Filling Variations and Customization
Experimenting with different fillings allows you to tailor these pastries to suit any taste preference. For a richer option, try blending cream cheese with a bit of powdered sugar and vanilla extract for a sweet, tangy filling. This pairs wonderfully with fresh strawberries or raspberries, adding both flavor and a burst of color. Alternatively, if you prefer a more indulgent treat, chocolate hazelnut spread can be a delightful choice, providing a smooth, chocolatey center that complements the flaky pastry.
If you're looking for healthier options, consider using nut butter combined with sliced bananas. This not only adds a nutty flavor but also brings in natural sweetness and a dose of healthy fats. If you or your loved ones have dietary restrictions, there are vegan cream cheese options available or even fruit purees that can replace traditional fillings without sacrificing flavor.
Storage and Reheating Tips
If you have leftovers or want to prepare these pastries in advance, store them in an airtight container at room temperature for up to two days. However, for optimal freshness, you can also freeze them before baking. Simply arrange the filled, unbaked pastries on a baking sheet, freeze until solid, and then transfer them to a freezer-safe bag or container for up to three months. This allows you to have a quick and delightful treat ready whenever a craving strikes!
When you’re ready to enjoy the frozen pastries, there’s no need to thaw them. Just place them directly on a baking sheet and follow the original baking instructions, adding an extra 2-5 minutes to the baking time. Keep an eye on them; they should turn golden brown and puffed up, indicating they are perfectly baked through.
Ingredients
Gather the following ingredients:
For the Pastries
- 1 package of pre-made puff pastry sheets (2 sheets)
- 1 egg (for egg wash)
- 2 tablespoons of sugar (for sprinkling)
Filling Suggestions
- Chocolate hazelnut spread
- Cream cheese blended with sugar and vanilla
- Fresh strawberries or raspberries
- Nut butter with sliced bananas
Make sure to choose your favorite fillings for a delicious surprise!
Instructions
Follow these simple steps to create your mini puff pastries:
Preheat the Oven
Preheat your oven to 400°F (200°C). This ensures your pastries will bake evenly.
Prepare the Puff Pastry
Roll out the puff pastry sheets on a floured surface and cut them into small squares, about 3x3 inches each.
Add the Filling
Place a teaspoon of your chosen filling in the center of each square, being careful not to overfill.
Seal and Egg Wash
Fold the pastry over to form a triangle or rectangle, pressing the edges together to seal. Beat the egg and brush it over the top of each pastry.
Sprinkle Sugar
Sprinkle sugar on top of each pastry for a sweet touch before baking.
Bake
Place the pastries on a baking sheet lined with parchment paper and bake for 15-20 minutes until golden brown.
Serve and Enjoy
Let them cool slightly before serving. Decadence awaits!
These pastries are best enjoyed fresh out of the oven, but they can be stored in an airtight container for a couple of days.

Pro Tips
- For an extra burst of flavor, consider adding a pinch of cinnamon or nutmeg to sweet fillings.
Troubleshooting Common Issues
If you notice that your pastries are not puffing up as expected, it could be due to the dough being too warm. Puff pastry relies on cold air trapped between the layers to create its signature flakiness. If this happens, a quick chill in the refrigerator can help. Additionally, ensure your oven is fully preheated before baking, as a sudden increase in temperature is crucial for achieving that risen texture.
Another common issue is overfilling, which can lead to leaking during the baking process. It’s important to stick to about a teaspoon of filling per pastry. If you're feeling adventurous and want to explore more flavors, remember to maintain that balance to prevent the filling from overwhelming the pastry.
Creative Serving Suggestions
To elevate your Valentine's celebration, consider serving these mini puff pastries alongside a sweet dipping sauce. A simple melted chocolate or a thin glaze made from powdered sugar and milk can enhance the indulgence. Additionally, fresh fruit on the side not only adds a pop of color but also complements the richness of the pastries beautifully.
If you're hosting a gathering, arrange the pastries on a beautiful platter with a mix of fillings for an eye-catching display. This way, guests can choose their favorites and enjoy a variety of flavors. For an extra touch, sprinkle some powdered sugar over the baked pastries right before serving for an elegant finish.
Questions About Recipes
→ Can I make these pastries ahead of time?
Yes, you can prepare them in advance and freeze the unbaked pastries. Bake them directly from the freezer, adding a few extra minutes to the baking time.
→ What can I substitute for puff pastry?
You could use phyllo dough, but the texture will differ. Just layer several sheets for a flaky result.
→ Can I use savory fillings?
Absolutely! These pastries work well with savory fillings like cheese and spinach or caramelized onion and feta.
→ What is the best way to reheat leftover pastries?
To maintain their flaky texture, reheat in a preheated oven at 350°F (175°C) for about 5 minutes.
Valentines Snacks Mini Puff Pastries
What You'll Need
For the Pastries
- 1 package of pre-made puff pastry sheets (2 sheets)
- 1 egg (for egg wash)
- 2 tablespoons of sugar (for sprinkling)
Filling Suggestions
- Chocolate hazelnut spread
- Cream cheese blended with sugar and vanilla
- Fresh strawberries or raspberries
- Nut butter with sliced bananas
How-To Steps
Preheat your oven to 400°F (200°C). This ensures your pastries will bake evenly.
Roll out the puff pastry sheets on a floured surface and cut them into small squares, about 3x3 inches each.
Place a teaspoon of your chosen filling in the center of each square, being careful not to overfill.
Fold the pastry over to form a triangle or rectangle, pressing the edges together to seal. Beat the egg and brush it over the top of each pastry.
Sprinkle sugar on top of each pastry for a sweet touch before baking.
Place the pastries on a baking sheet lined with parchment paper and bake for 15-20 minutes until golden brown.
Let them cool slightly before serving. Decadence awaits!
Extra Tips
- For an extra burst of flavor, consider adding a pinch of cinnamon or nutmeg to sweet fillings.
Nutritional Breakdown (Per Serving)
- Calories: 180 kcal
- Total Fat: 12g
- Saturated Fat: 7g
- Cholesterol: 60mg
- Sodium: 90mg
- Total Carbohydrates: 16g
- Dietary Fiber: 1g
- Sugars: 5g
- Protein: 3g